Crop a Pinterest product image around the use case
Use a tall product image to show what the item does and where it belongs without obscuring key details.
A useful product Pin helps a planner picture the item in a real context.
The problem behind the post
Pinterest users may be collecting options for a project or purchase. A tall Pin can show the product and a bit of context, but a crop that hides scale or a defining feature makes the click less informed. Decide whether the Pin's primary job is to show the object, the object in use, or a step in making it. One image usually cannot do all three equally well.
A practical way to handle it
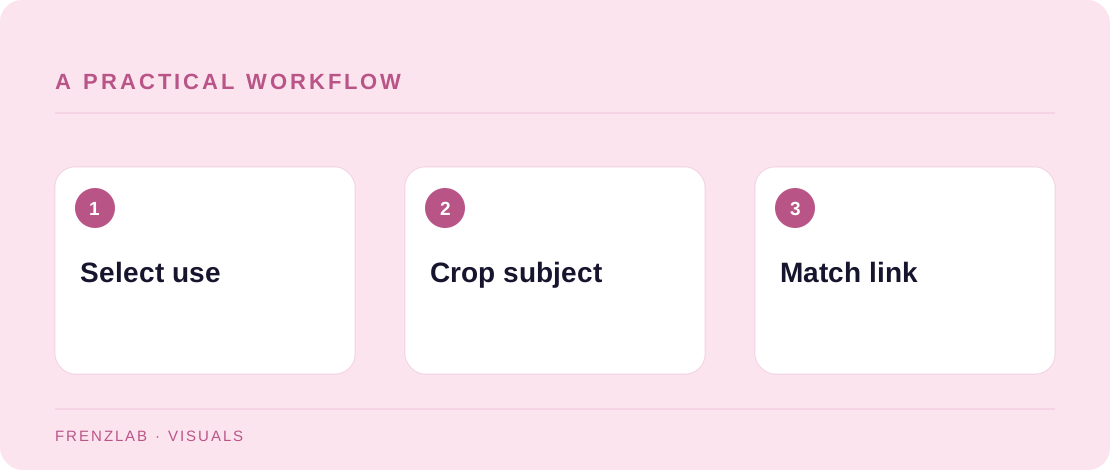
Choose the tall canvas in the Social Image Resizer and inspect how the source photo fills it. If the image is too wide, crop toward the product and preserve enough surroundings to explain scale. A piece of furniture may need part of the room; a small craft tool may need a hand or a recognizable object nearby. Avoid placing critical words where the app may overlay controls.
Pair the image with a Pin title that names the item or task, a description with a useful detail, and a direct link to the corresponding page. Pinterest's creation flow includes these fields. Open the destination URL before publishing and verify that the product, color, or project in the image is present there. The visual and link should make one consistent promise.
A worked example
A studio sells a narrow wall shelf. A tall image showing the shelf above a desk gives scale and use; a crop that cuts off the lower shelf would hide storage capacity. The title can identify it as a narrow wall shelf, while the description mentions the dimensions and the linked page lists exact measurements.
Before you publish
- Can a person tell the product’s scale or use?
- Does the linked page show the same item?
- Are important features visible after export?
A common mistake
Do not use a decorative room photo if the product itself becomes hard to find. The Pin may look attractive yet fail the person trying to compare options. Make the object and its distinguishing detail visible first.
Use the related Frenzlab tool to put this method into practice, then check the result in the destination platform.
Sources and further reading
Platform features and interfaces may change. These references were used to check the platform-specific details in this guide.
Practical, independently written guidance. If a step has changed, tell us so we can verify it.